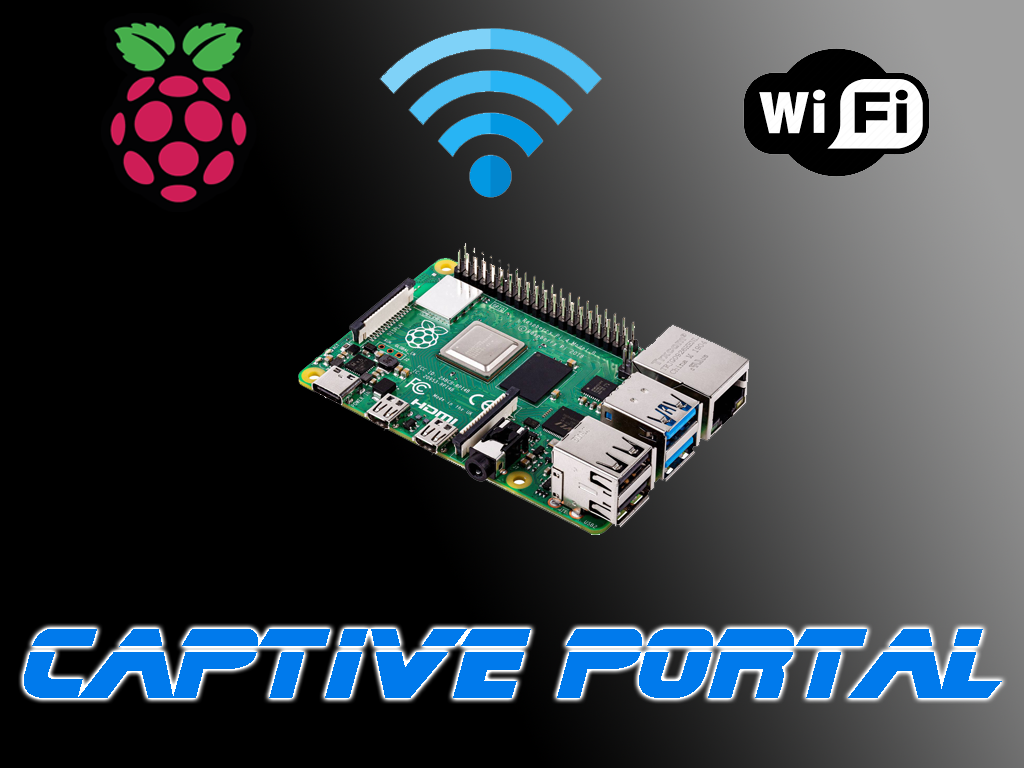
Do you know you can use your Raspberry Pi as WiFi Access Point? Infact Raspberry Pi as WiFi Access Point is really useful when you want to control your electronics using IoT and need the ability for users to adjust the settings of your IoT controlled devices using their mobile phone. Users can connect to the hotspot created by your Raspberry Pi and access a webpage hosted right on your Pi to View and Adjust the settings and IoT device data.
In this article, I’ll show you how to write a Python Program to use your Raspberry Pi as WiFi Access Point and enforce clients to automatically open a web page, often called a captive portal when they connect to the hotspot.

Python Code for Raspberry Pi as WiFi Access Point
Save the following Python program on your Raspberry Pi. If you want the program to auto-start when the Raspberry Pi starts, you have to configure it appropriately. You can use this Raspberry Pi as WiFi Access Point code on Raspberry Pi 4, Raspberry Pi 3 and Raspberry Pi Zero W. Please note, this code will not work on Raspberry Pi Pico W since no operating system is present on that board.
# Import the required modules
import os
import subprocess
import socket
import network

# Define the SSID and password for the access point
ssid = "Raspberry Pi AP"
password = "raspberry"

# Create a virtual network interface for the access point
os.system("sudo iw dev wlan0 interface add ap0 type __ap")

# Configure the IP address and netmask for the access point interface
os.system("sudo ip addr add 192.168.4.1/24 dev ap0")

# Enable the access point interface
os.system("sudo ip link set ap0 up")

# Create a hostapd configuration file with the SSID and password
with open("/etc/hostapd/hostapd.conf", "w") as f:
    f.write(f"""
interface=ap0
ssid={ssid}
wpa_passphrase={password}
hw_mode=g
channel=6
wpa=2
wpa_key_mgmt=WPA-PSK
wpa_pairwise=CCMP""")

# Start the hostapd service with the configuration file
os.system("sudo hostapd -B /etc/hostapd/hostapd.conf")

# Start the dnsmasq service to provide DHCP and DNS services
os.system("sudo dnsmasq -C /dev/null -kd -F 192.168.4.2,192.168.4.20 -i ap0 --bind-dynamic")

# Enable IP forwarding to allow internet access for the connected devices
os.system("sudo sysctl net.ipv4.ip_forward=1")

# Configure NAT to forward packets from the access point interface to the internet interface (eth0)
os.system("sudo iptables -t nat -A POSTROUTING -o eth0 -j MASQUERADE")

# Define the captive portal web page content
html = """


Raspberry Pi Captive Portal


Welcome to Raspberry Pi Captive Portal
You are now connected to your Raspberry Pi as WiFi Access Point
Please enter your name and email address to access the internet.
"""
# Create a socket object to listen for HTTP requests on port 80
s = socket.socket(socket.AF_INET, socket.SOCK_STREAM)
s.bind(("", 80))
s.listen(5)
# Loop forever to handle HTTP requests
while True:
# Accept a connection from a client
conn, addr = s.accept()
print(f"Connection from {addr}")
# Receive the HTTP request from the client
request = conn.recv(1024).decode()
print(f"Request: {request}")
# Parse the request line to get the method and path
request_line = request.split("\n")[0]
method, path, version = request_line.split()
# If the path is /login, then extract the name and email from the request body
if path == "/login":
# Get the request body by splitting on an empty line
body = request.split("\r\n\r\n")[1]
# Split the body on "&" to get the name and email parameters
params = body.split("&")
# Split each parameter on "=" to get the key and value pairs
name = params[0].split("=")[1]
email = params[1].split("=")[1]
# Print the name and email values
print(f"Name: {name}")
print(f"Email: {email}")
# Send a response with a success message and a redirect header to google.com
response = f"""HTTP/1.1 200 OK\r\nContent-Type: text/html\r\nLocation: http://google.com\r\n\r\nSuccess!
You have logged in with name {name} and email {email}.
""" conn.send(response.encode()) # Otherwise, send a response with the captive portal web page content else: response = f"HTTP/1.1 200 OK\r\nContent-Type: text/html\r\n\r\n{html}" conn.send(response.encode()) # Close the connection with the client conn.close()

Auto Open Captive Portal
- You need to make sure that your Raspberry Pi has a valid internet connection through the WiFi interface (wlan0). You can check this by running the command
ping google.comand see if you get any replies. - You need to install a package called
nodogsplashwhich is a captive portal solution that can redirect all HTTP requests to a specified URL. You can install it by running the commandsudo apt install nodogsplash. - You need to configure the nodogsplash service to use your access point interface (ap0) and your captive portal web page URL. You can do this by editing the file
/etc/nodogsplash/nodogsplash.confwith your preferred text editor. You need to change the following lines:- Uncomment the line
GatewayInterface ap0and make sure it matches your access point interface name. - Uncomment the line
RedirectURL http://192.168.4.1/loginand change the IP address to match your access point IP address and the path to match your captive portal web page path. - Save and exit the file.
- You need to restart the nodogsplash service to apply the changes. You can do this by running the command
sudo systemctl restart nodogsplash.- You need to disable or modify the iptables rule that forwards packets from the access point interface to the internet interface. This is because nodogsplash will handle the NAT and firewall functions for you. You can do this by running the command
sudo iptables -t nat -D POSTROUTING -o wlan0 -j MASQUERADEor by commenting out the line in your python code.Now, your Raspberry Pi should be able to enforce auto opening captive portal in browser for every WiFi client who connects to the access points. You can test this by connecting a device to your WiFi network and see if it automatically opens a browser with your captive portal web page.
- Uncomment the line
